


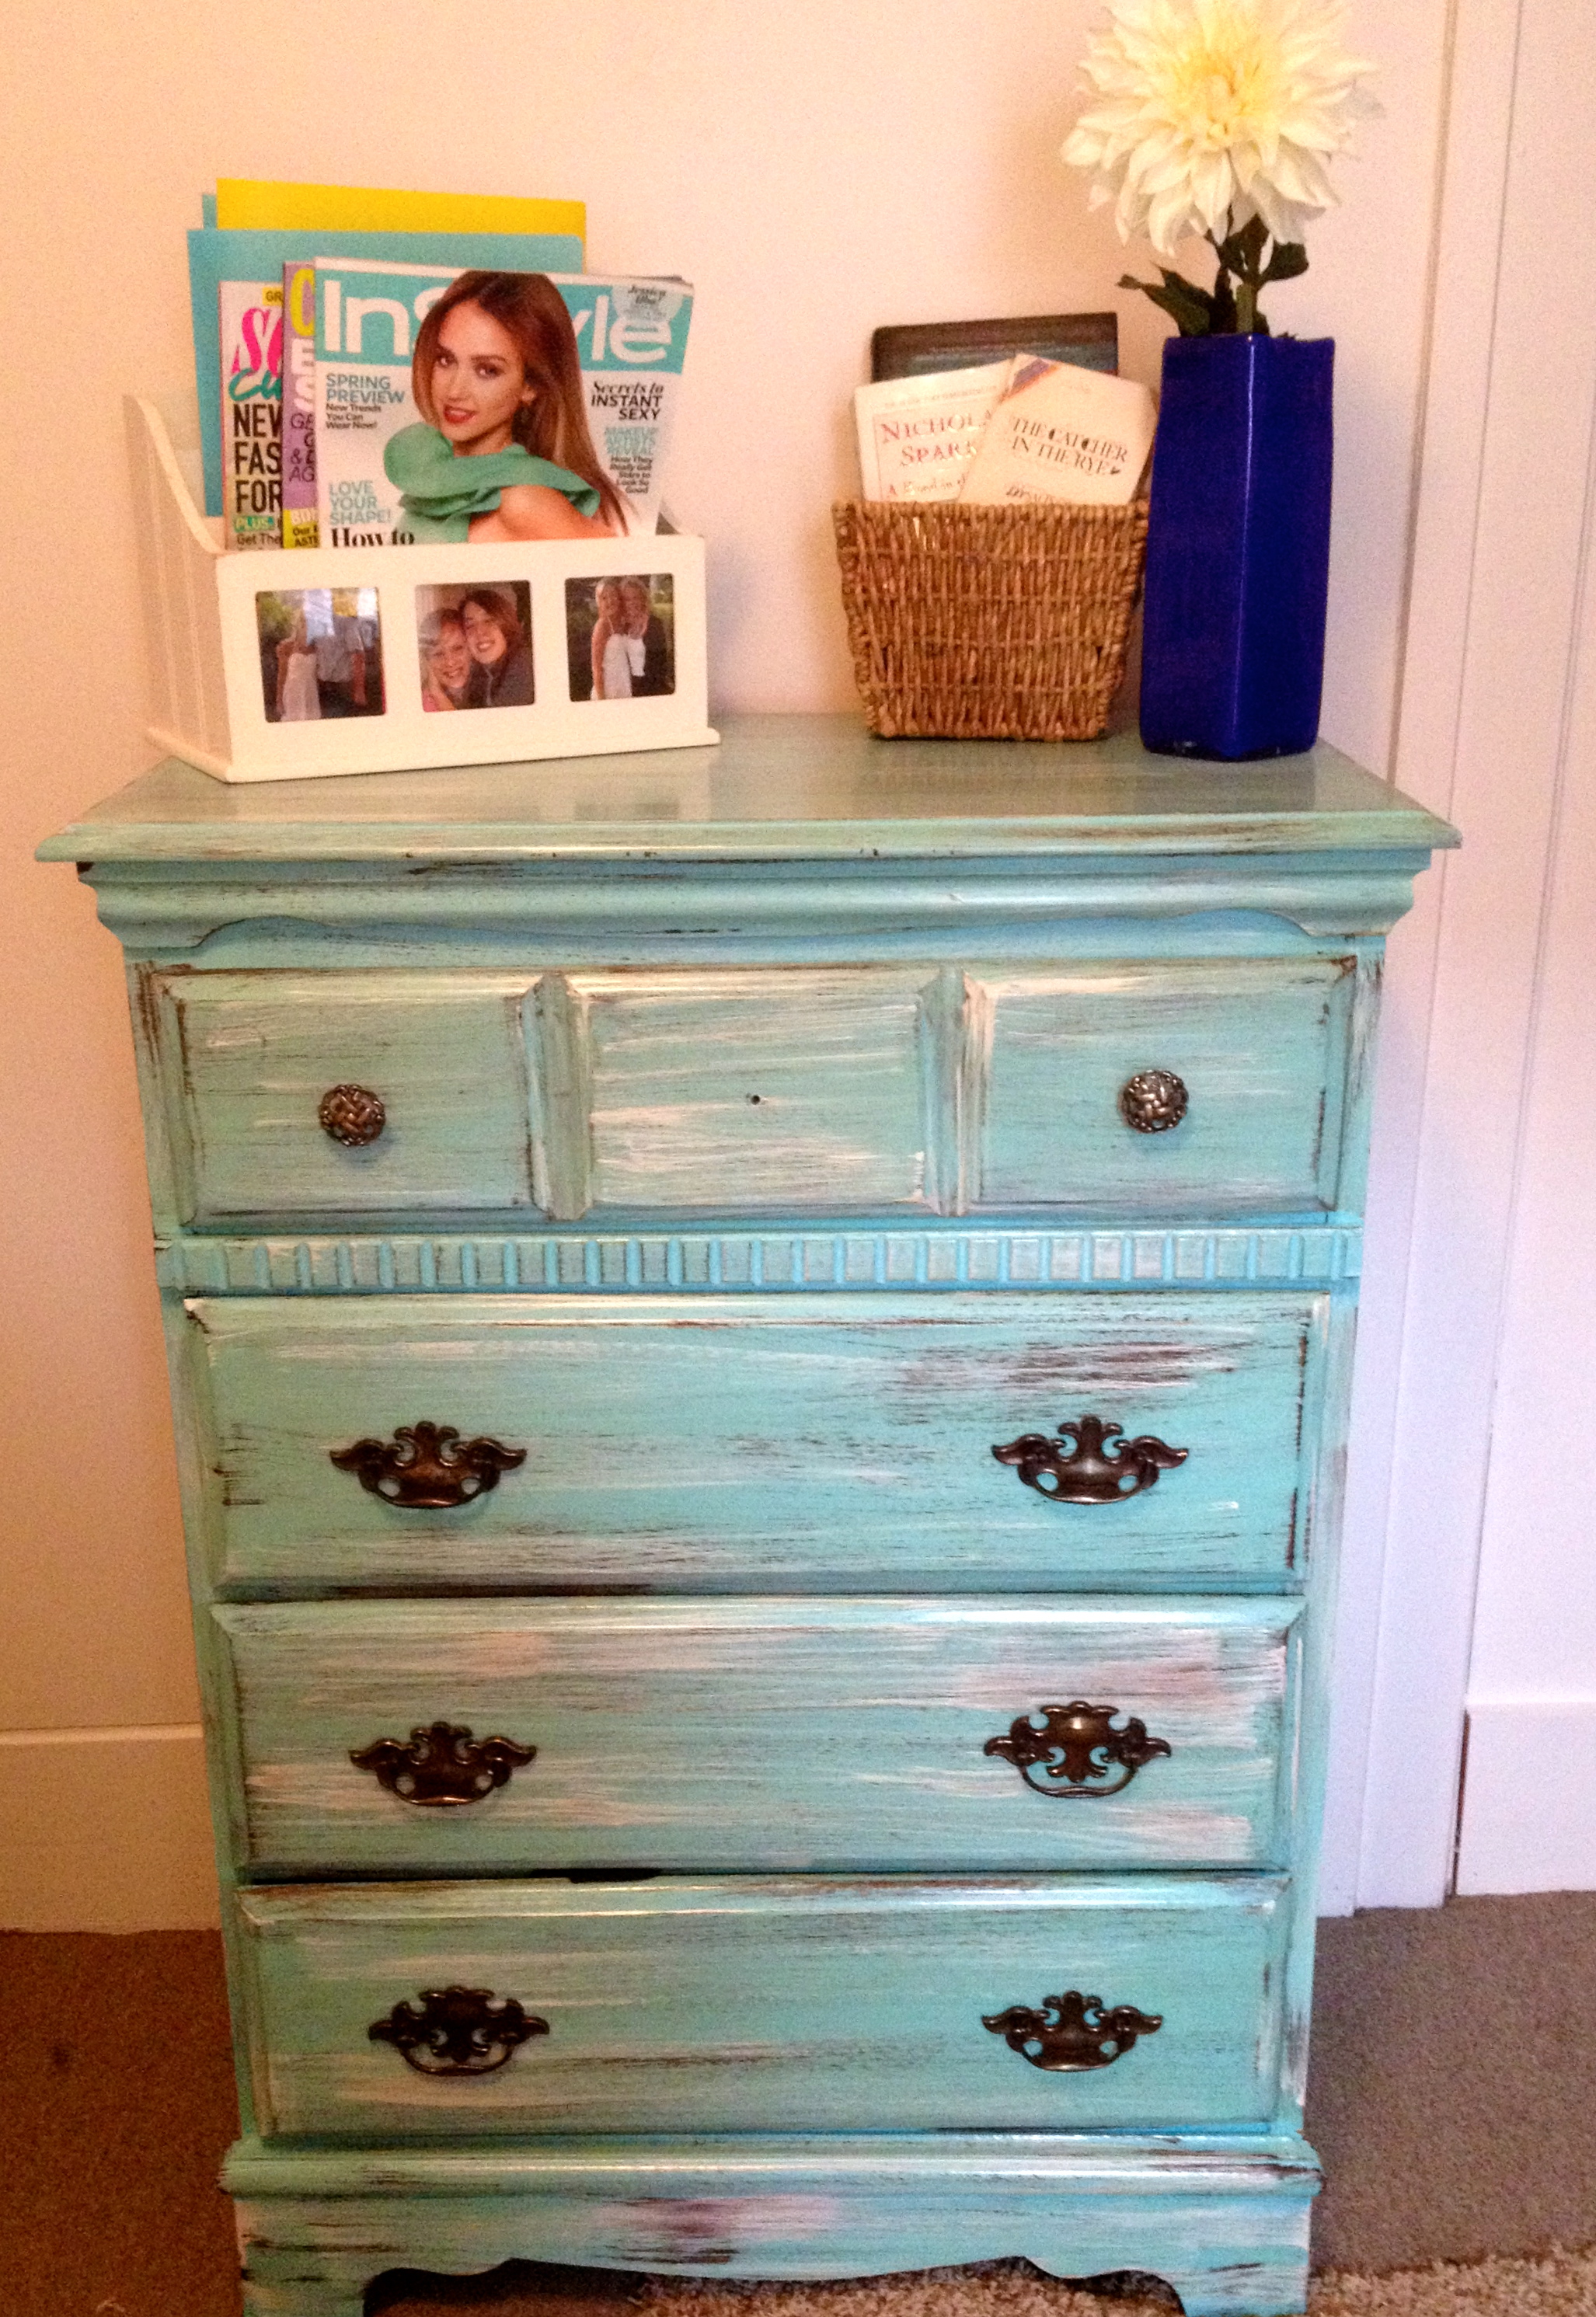
Want to bring color and character to your room? Paint your furniture. It’s easy and it creates a fun, energetic vibe. Especially if you’re constrained to boring white walls because of rental agreements.
My landlord provided me with my dresser, so I didn’t have to search for one. But you can find a functional, used piece of furniture at a garage sale for very cheap. Even if the knobs are missing, you can buy new ones for around 5 dollars.
I finished this dresser in about a day and got all my supplies from my local hardware store.
Here are the supplies you’ll need:
- Satin Latex Paint (base coat)
- Satin Latex Paint (brown, white)
- Wood Finish
- Painting supplies
- Screwdriver (to remove hardware)
- Sander or Sandpaper
- Furniture to be distressed
Prep
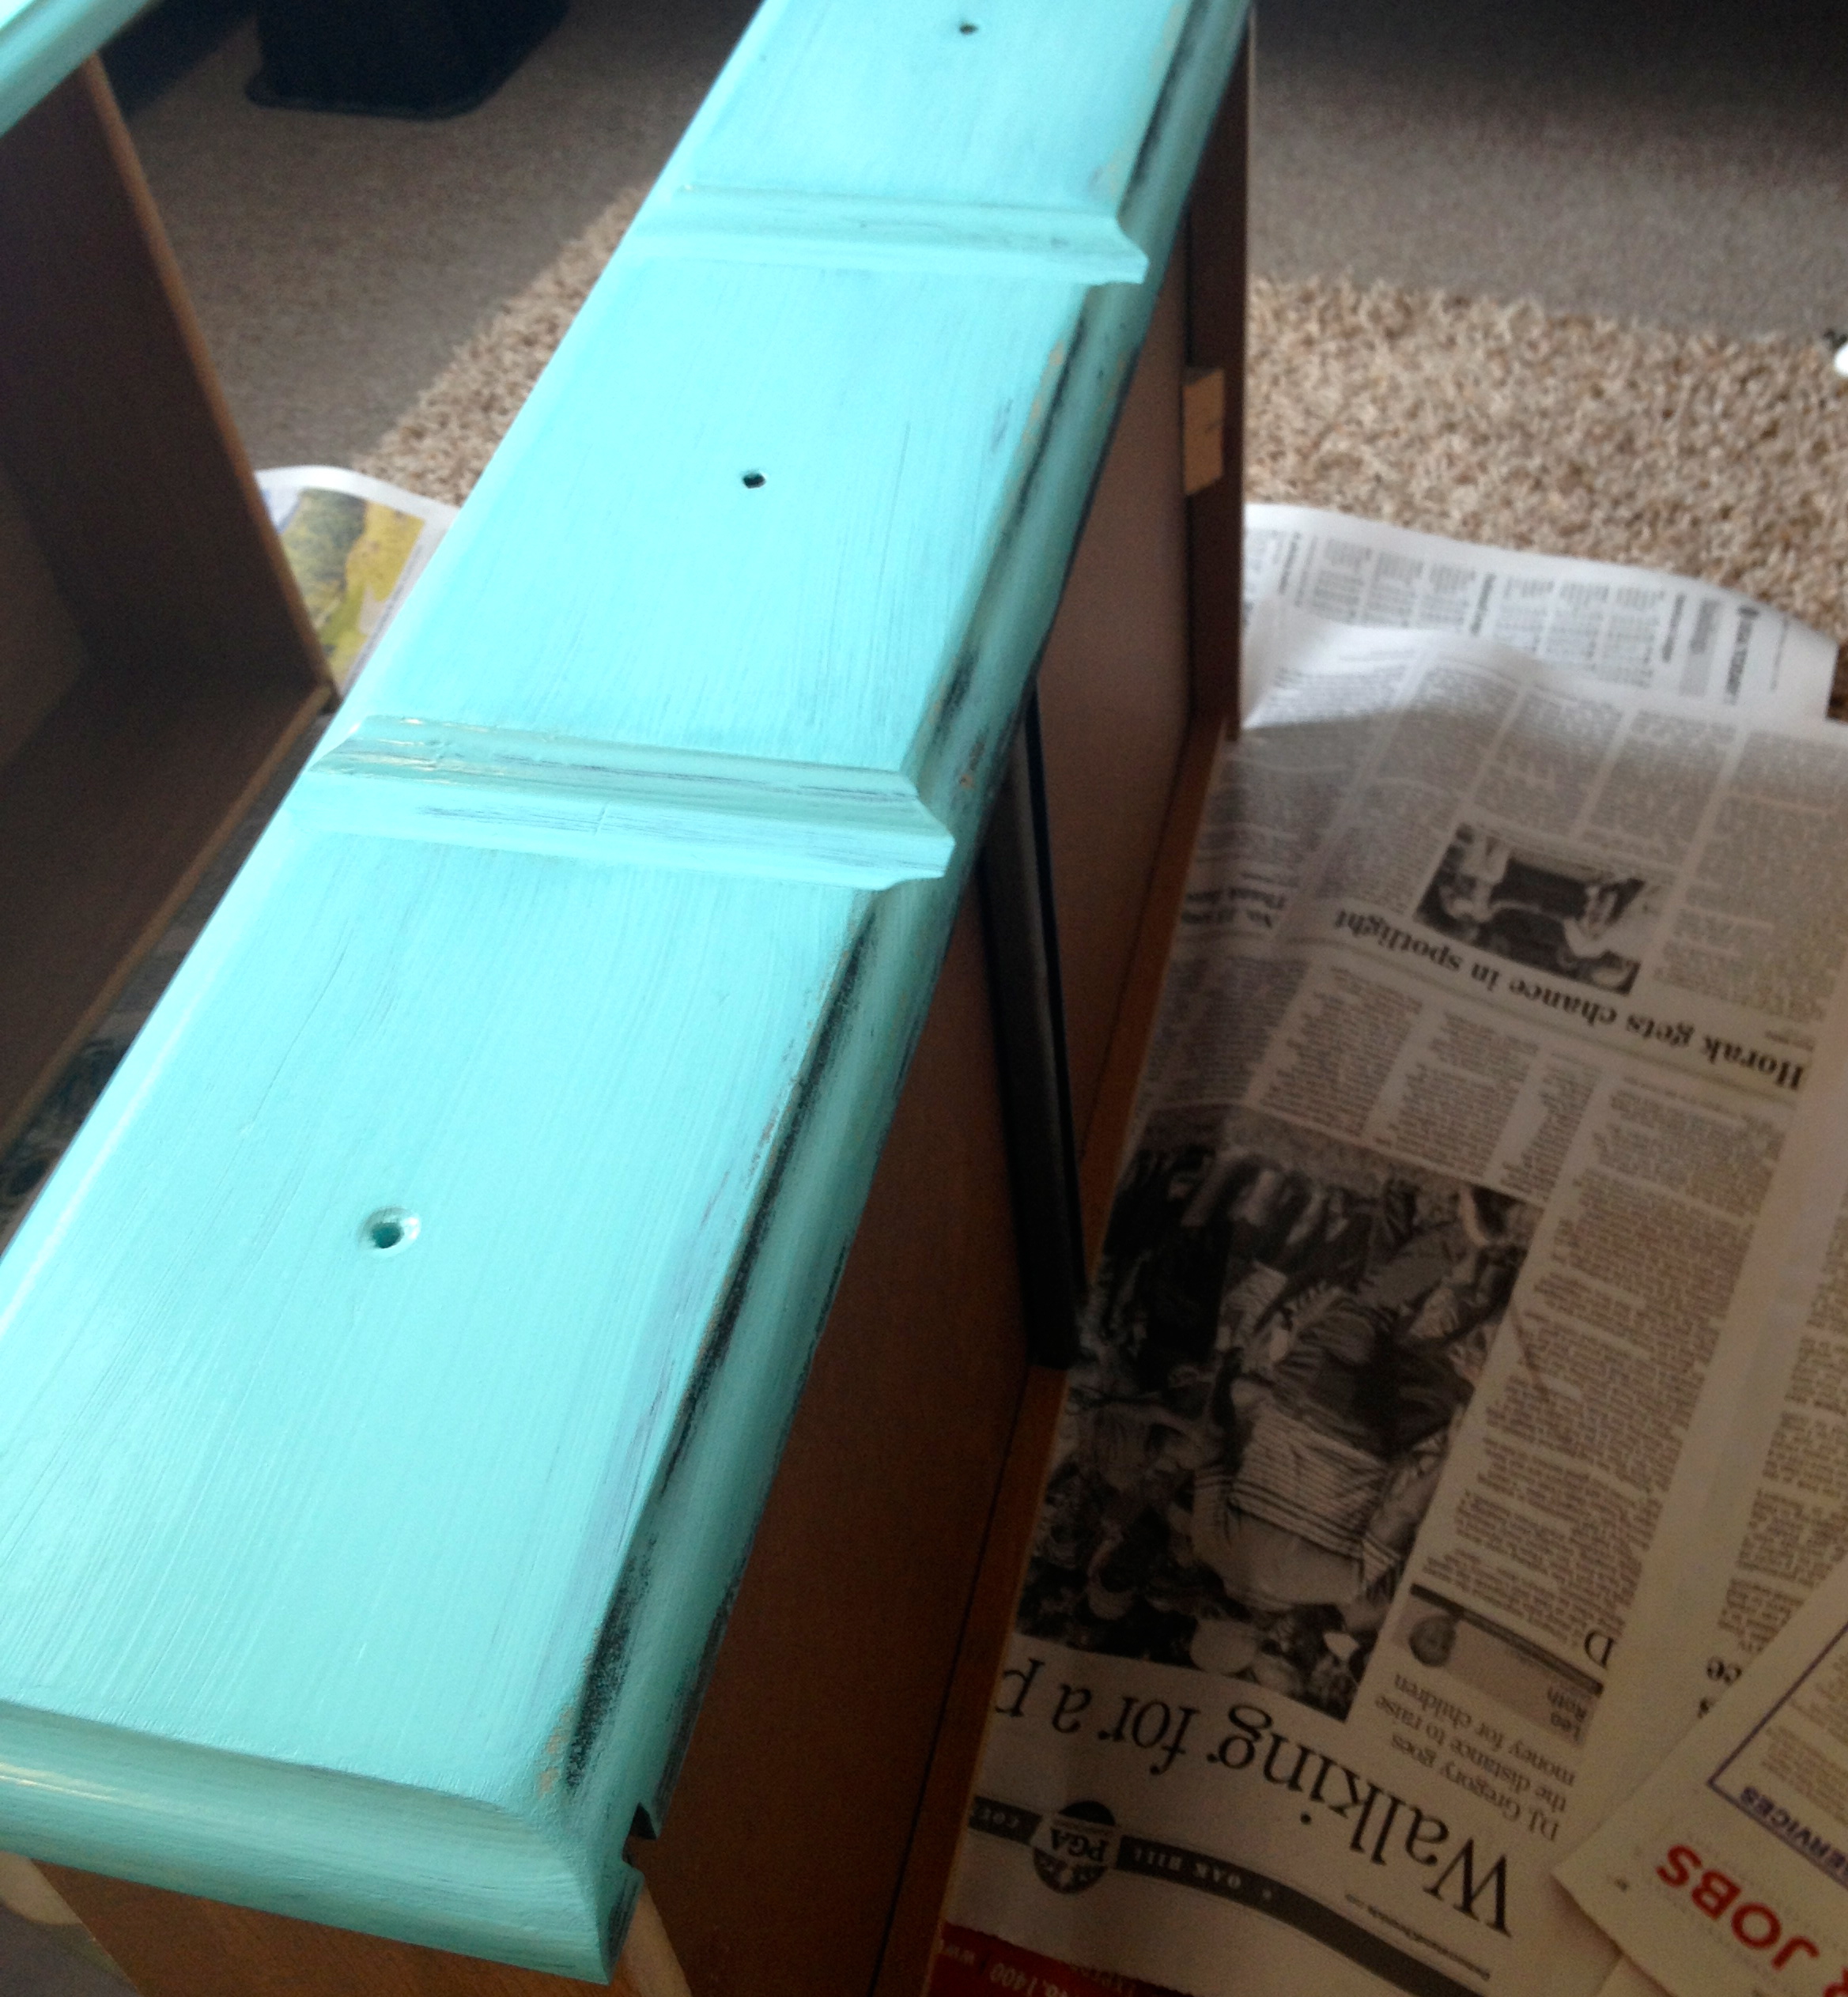
Remove drawers and hardware.
What I learned after: I’d suggest setting up your entire work space before you even start. Lay down your newspaper, open your paint, and have your paint supplies ready.

Sand
Sand the entire piece. Pay close attention to corners and edges (where a piece would naturally get roughed up). Sand all the flat surfaces, then the corners and edges. Wipe down the piece once you have completed this step.
What I learned after: I used a handheld sanding block because I’m lazy and it was available, but I really didn’t need it. A coarse piece of sandpaper and some arm strength will work just fine.

Paint
Apply a coat of the base color you chose. Let this dry completely (about 2 hours).
What I learned: I used a gallon of Clark + Kensington Turquoise Bay. I loved the color, but used less than a quarter of it. I definitely could’ve gotten away with buying a quart.
Distress
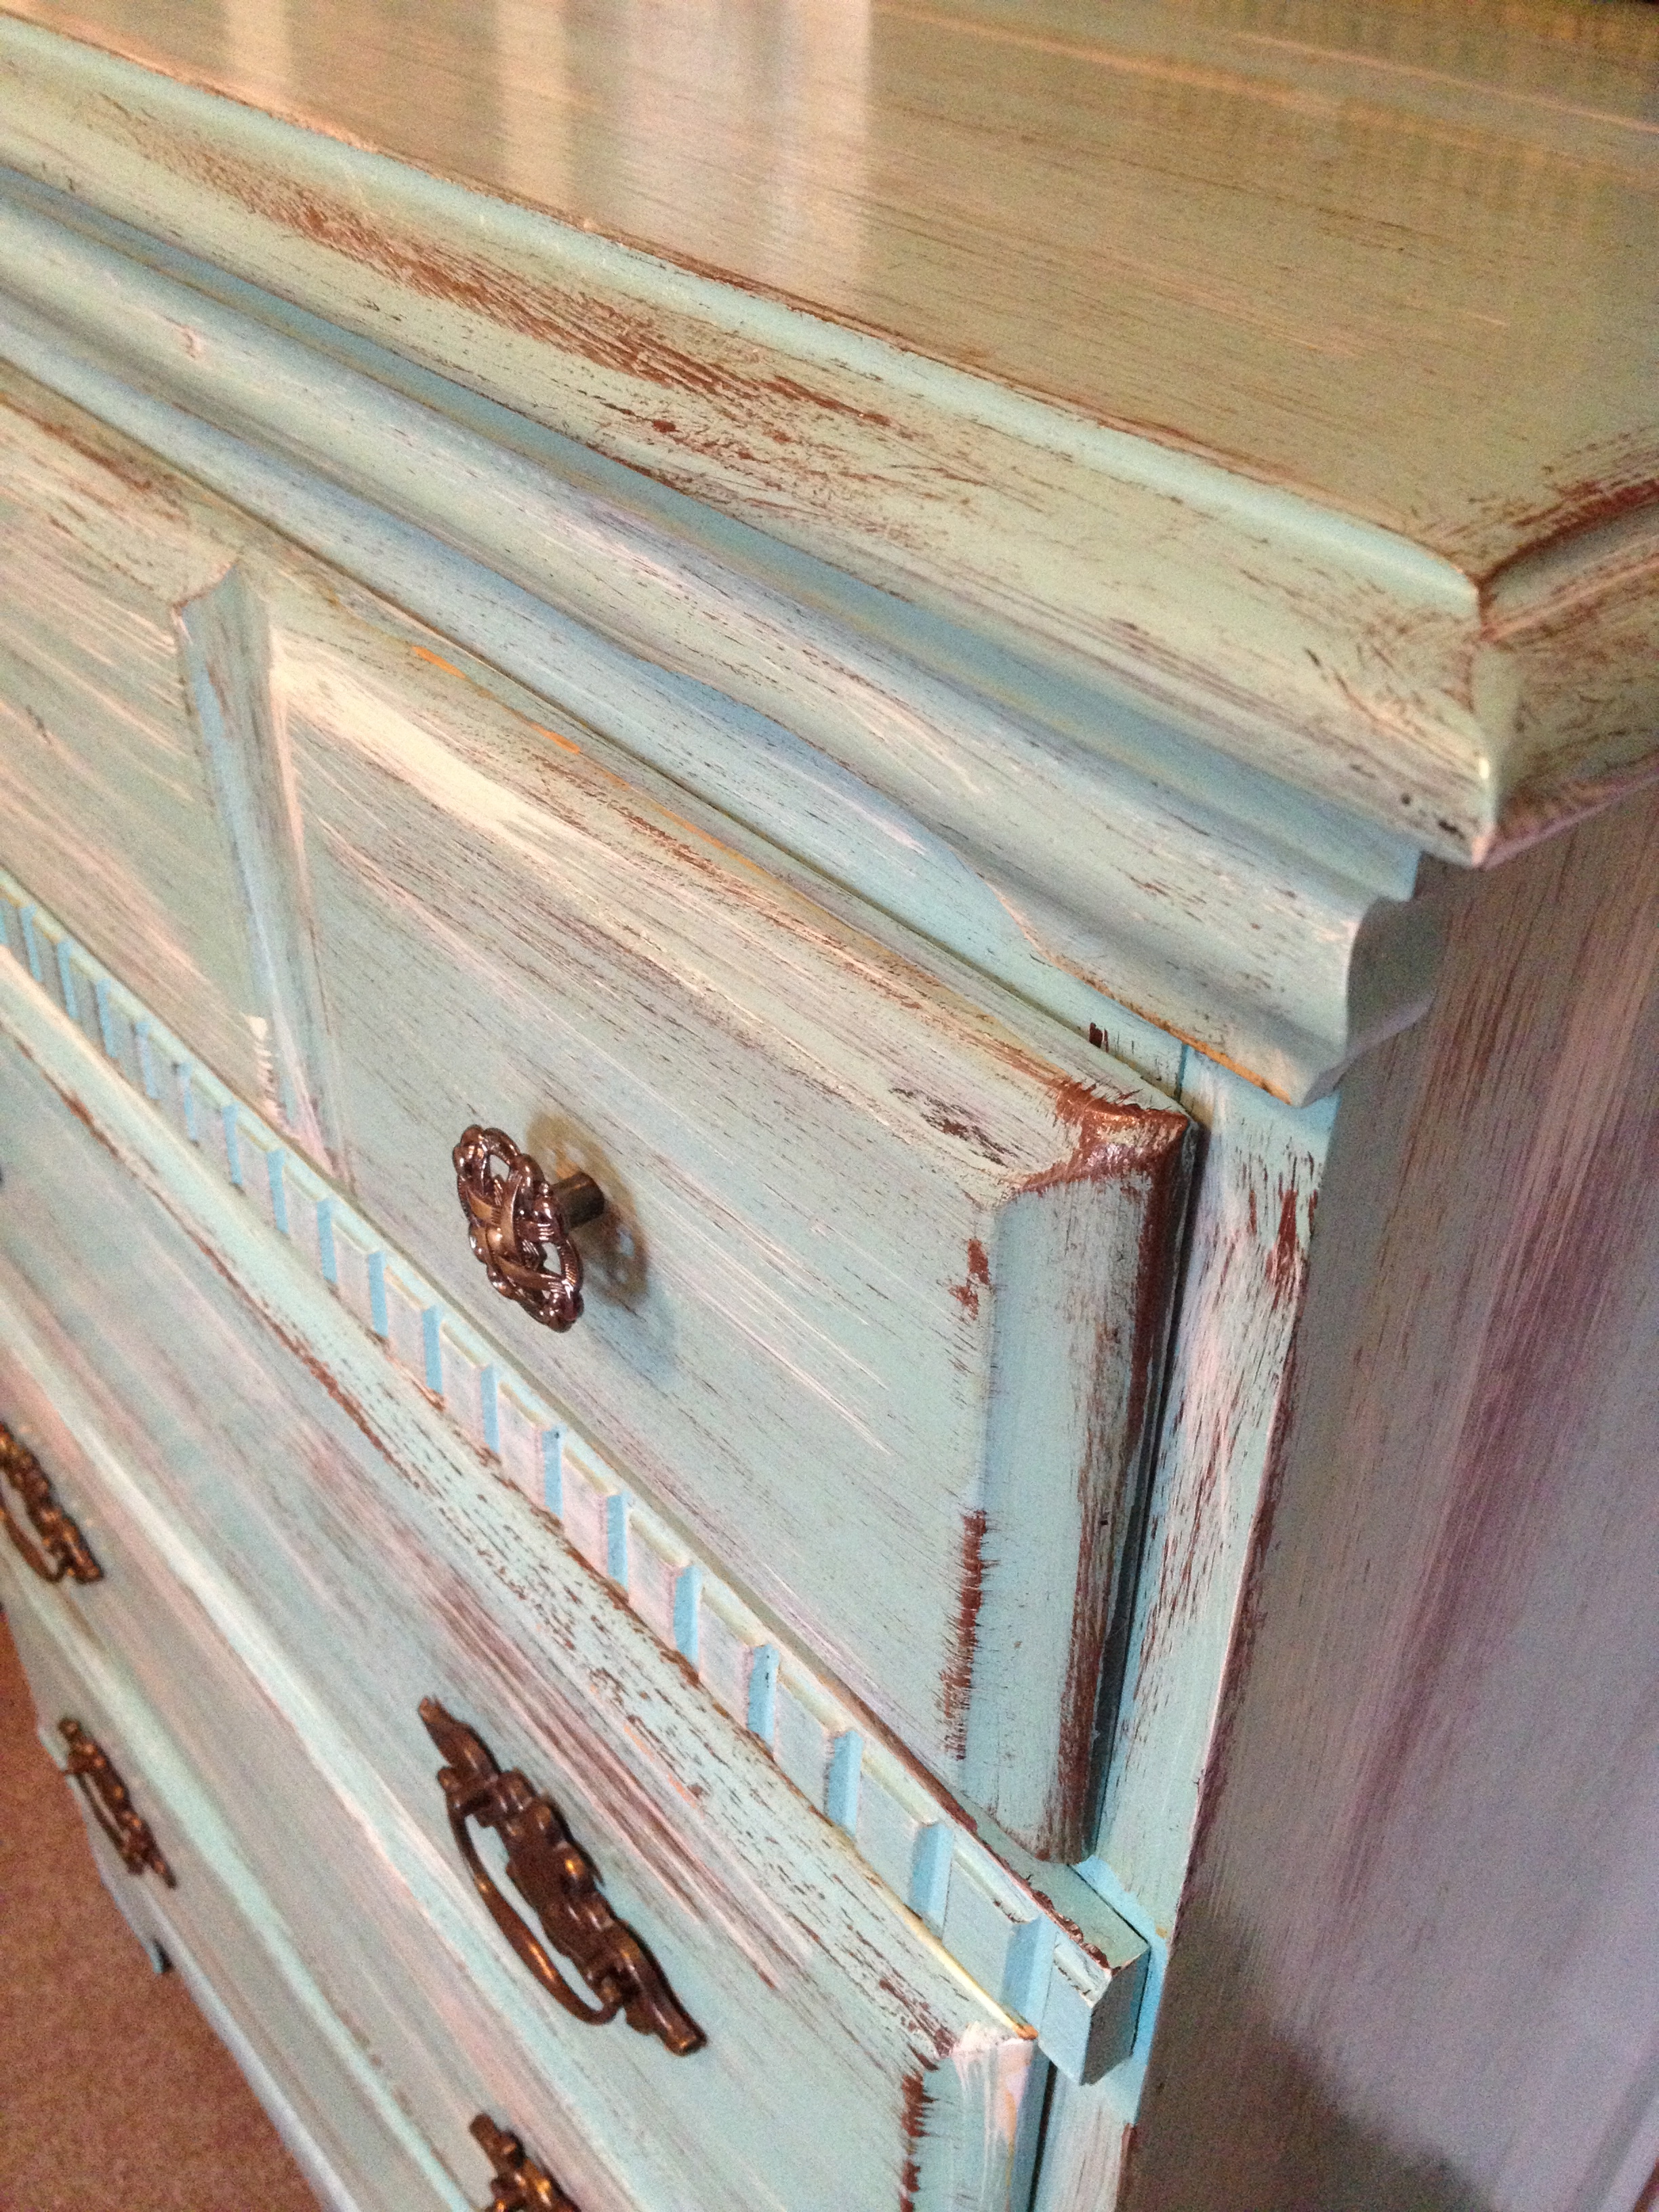
Now for the fun part. This is where you’ll use your brown and white paint. I mixed mine with a little water to dilute the colors. Dip the tip of your brush–and I mean the very tip–into the brown paint. Stroke it a few times on newspaper to remove any excess paint. The brush should have as little paint on it as possible. Using that brush, paint a coat of “stokes” wherever you want it to look distressed. Once that has dried, do the same thing with your white paint.
What I learned: I found that the more dried out I could get the brush before I used it, the more authentic my stokes looked.
Finish
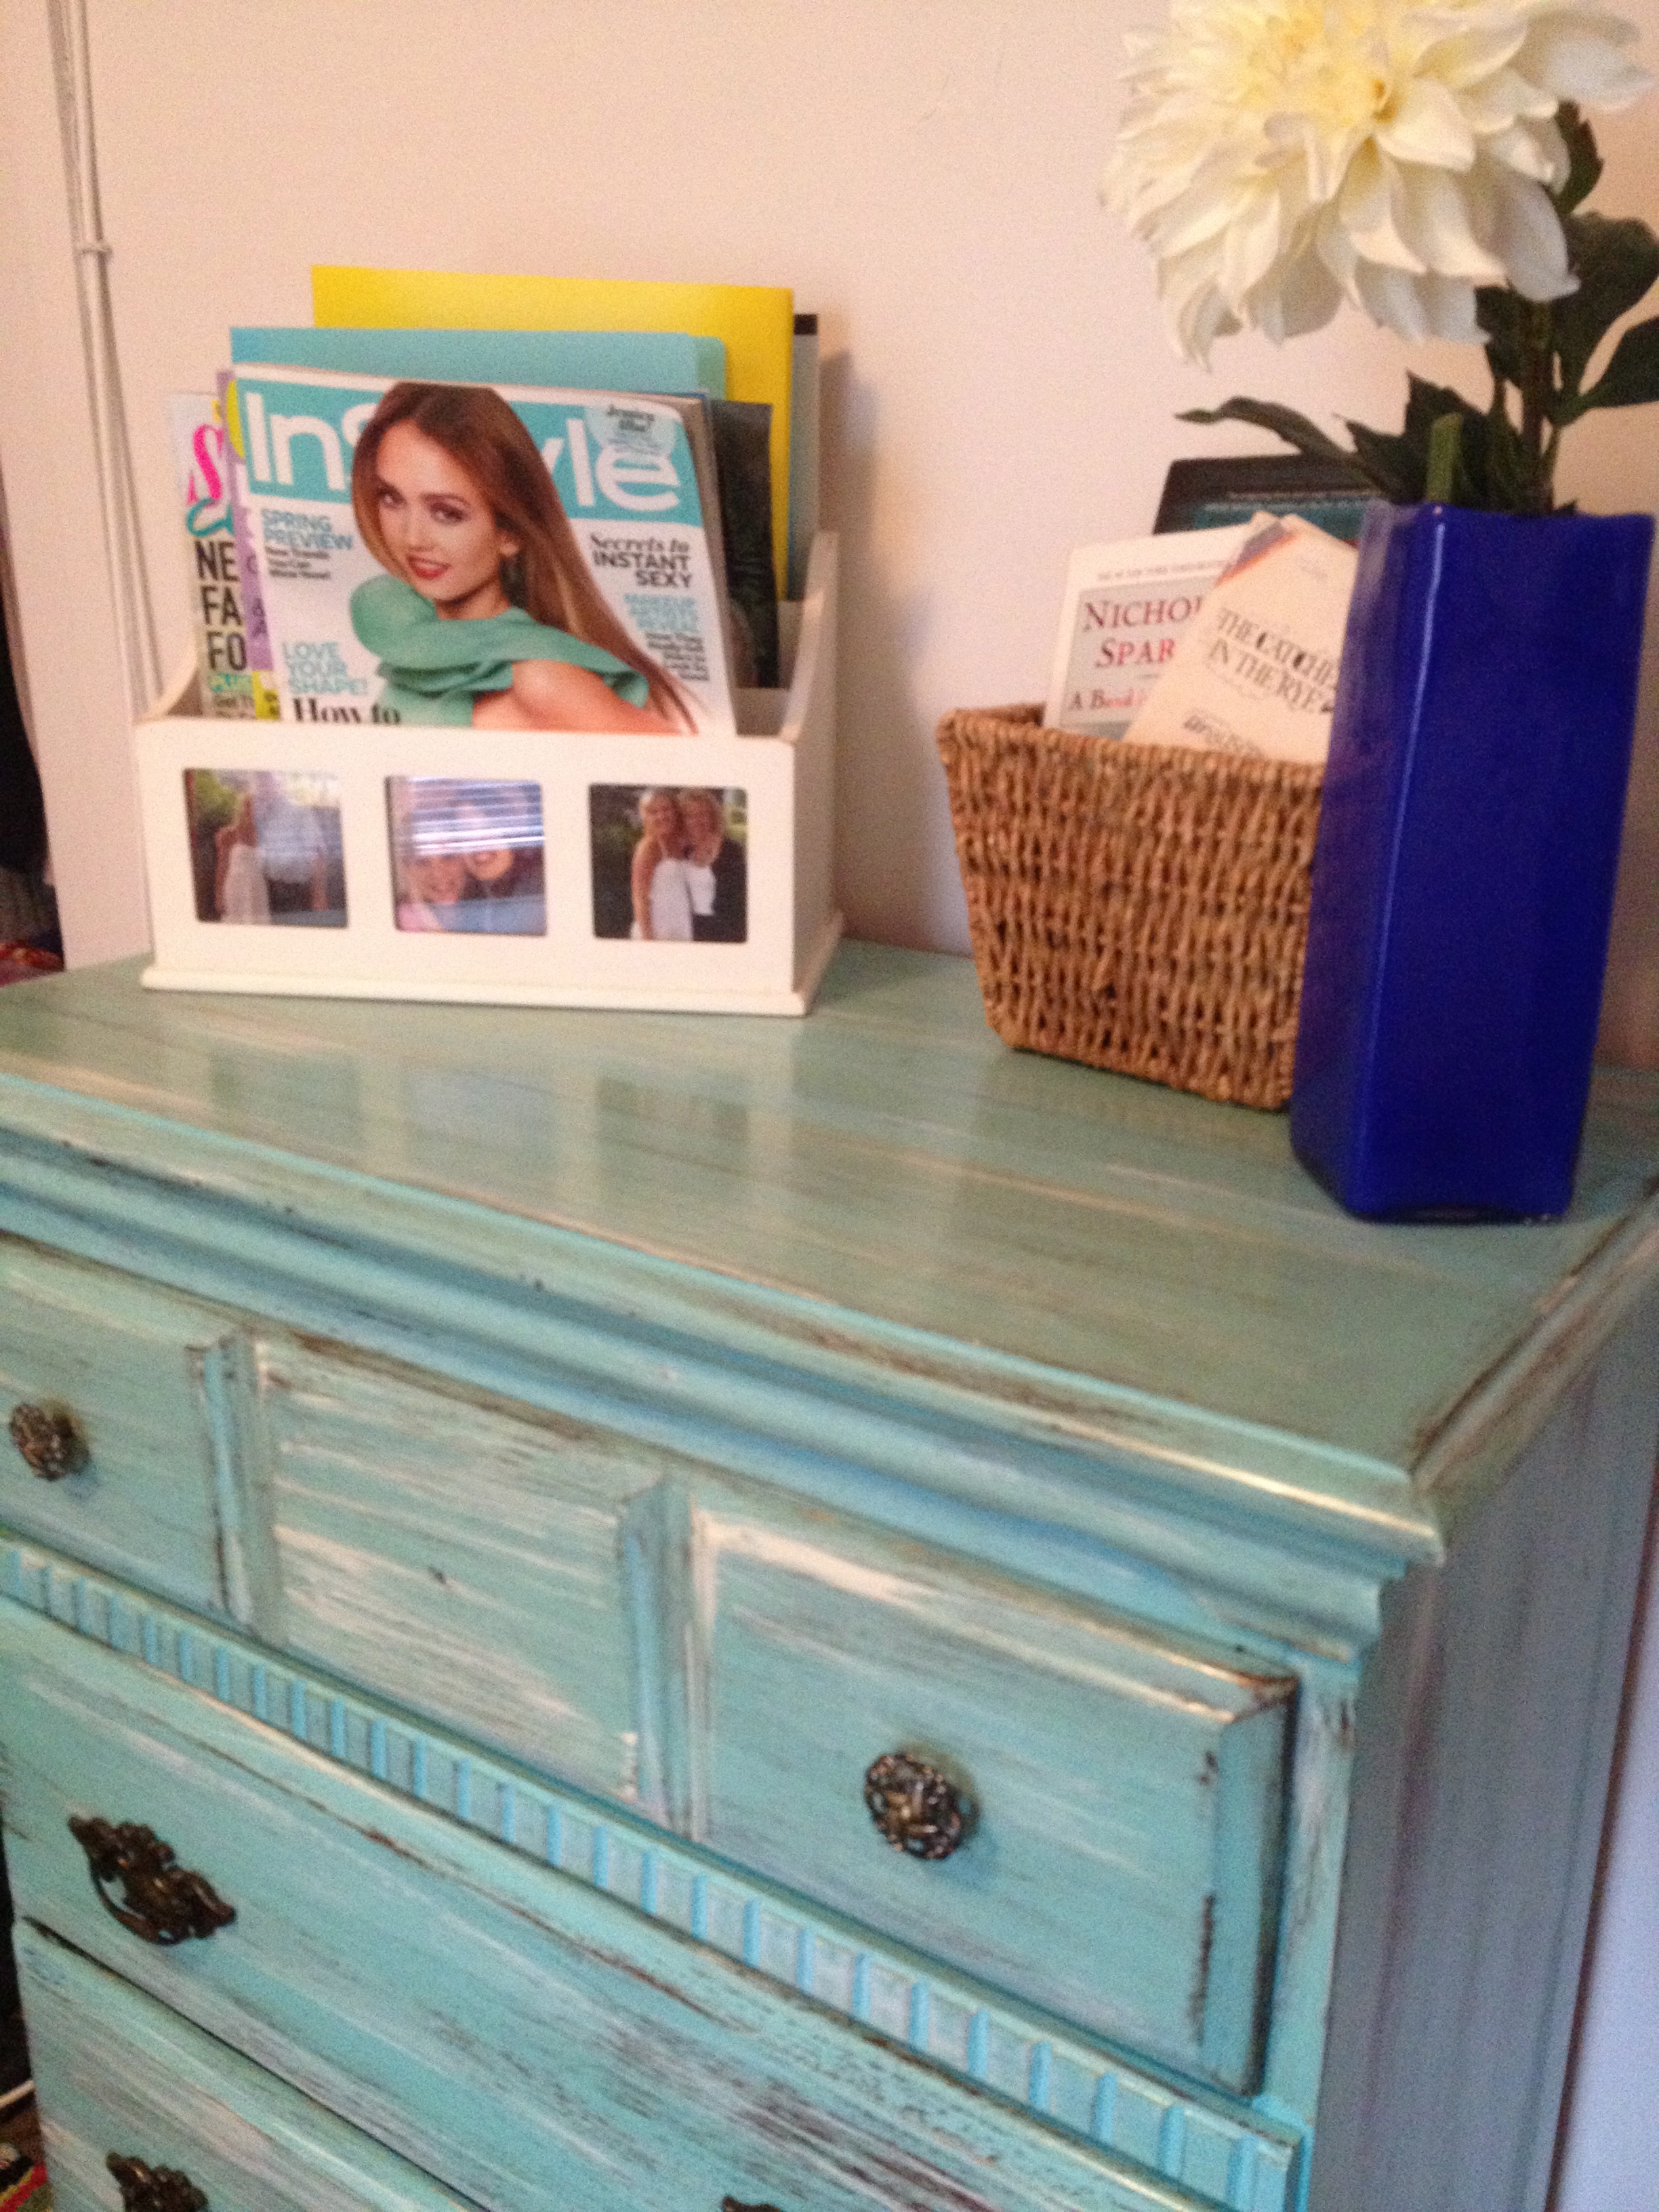
Once you’re happy with the look you’ve created and the paint has had a chance to dry, apply a coat of wood finish. This will afford a rustic look by adding a brownish-tint. I chose a golden pecan color. If you want, you could sand the edges once more using a very find sandpaper (360- to 600-grit) when everything has dried. Now just add your hardware and enjoy your new creation!


I love the colors you used!! Could you tell me what colors, brands? What type of brush did you use? Also wondering if it could be done with a piece that isn’t solid wood?
LikeLike
Thank you! I used Clark + Kensington Turquoise Bay, Bark Brown, and New Canvas. I also used a Miniwax wood finish. I used a roller for the Turquoise and just regular bristled brushes for the rest. I would say you should be fine doing it with a piece that isn’t solid wood. Good luck! 🙂
LikeLike
Do you possibly have the paint chip number or the formula for Turquoise Bay?? Our Ace Hardware can not find the color!!
LikeLike
I don’t have the paint chip number and couldn’t find it again at my hardware store. Use whatever color strikes you!
LikeLike
The tips is extremely appealing. http://bit.ly/2f0xJ92
LikeLike
Looks great – can’t wait to try it out
LikeLike
Pingback: Distressed Furniture - homehore.co
Pingback: 21 Best Ideas Diy Distressing Wood - Home, Family, Style and Art Ideas